The 1:16 Hario V60 Pour-Over Master Recipe: Bloom Physics, Water Temp & Swirl Technique
Brew sweet, crystal-clear 3-minute Hario V60 cups every morning using our repeatable 20g : 320g two-pulse pour recipe, 45-second CO2 bloom, and flat-bed Rao spin.
Reader-Supported Lab Note: When you buy gear or whole beans via links in this guide, we may earn an affiliate commission at zero extra cost to you. As an Amazon Associate I earn from qualifying purchases. Learn more.
⚡ 60-Second Barista Takeaways
- Trapped CO2 gas physically repels water during the first 35–45 seconds—skipping a thorough 3x-dose bloom guarantees sour, hollow extraction.
- Target a 5–6 g/sec laminar pour stream from 2 inches above the liquid surface so your gooseneck spout agitates the slurry gently without blasting channels.
- A flat, level spent coffee bed (no high mud walls clinging to the paper) proves every gram of coffee saw identical water contact time.
Why the Hario V60 Rewards Technique More Than Any Other Brewer
Unlike flat-bottom basket drippers with tiny flow-restricting pinholes, the 60-degree cone of the Hario V60 Size 02 Dripper features raised internal spiral ribs and a massive open bottom orifice. Nothing artificially slows the water except your coffee grind size and pouring turbulence.
Master four simple physical principles—thermal preheating, CO2 degassing bloom, laminar pour height, and the final Rao swirl—and a $25 V60 produces sweeter, cleaner, more aromatic cups than a $350 automatic drip brewer.
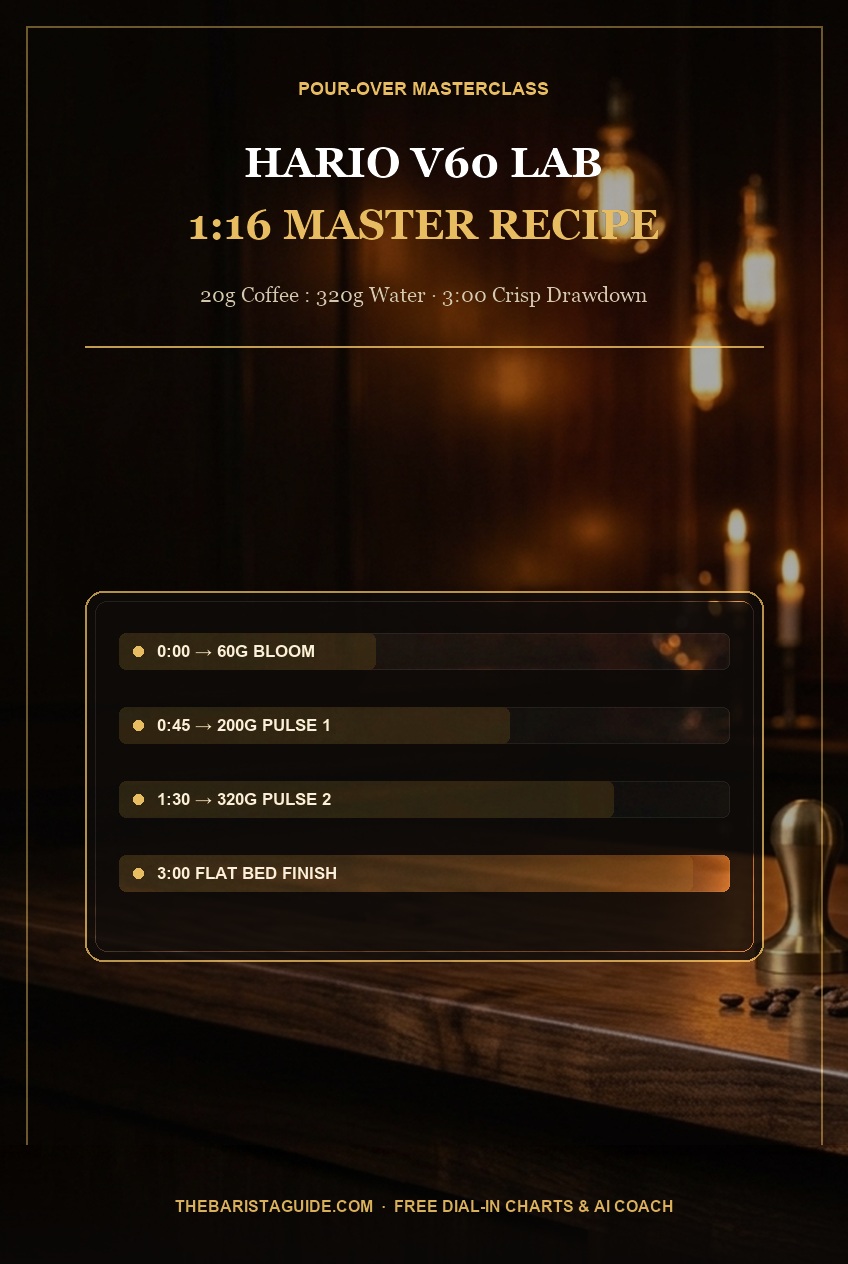
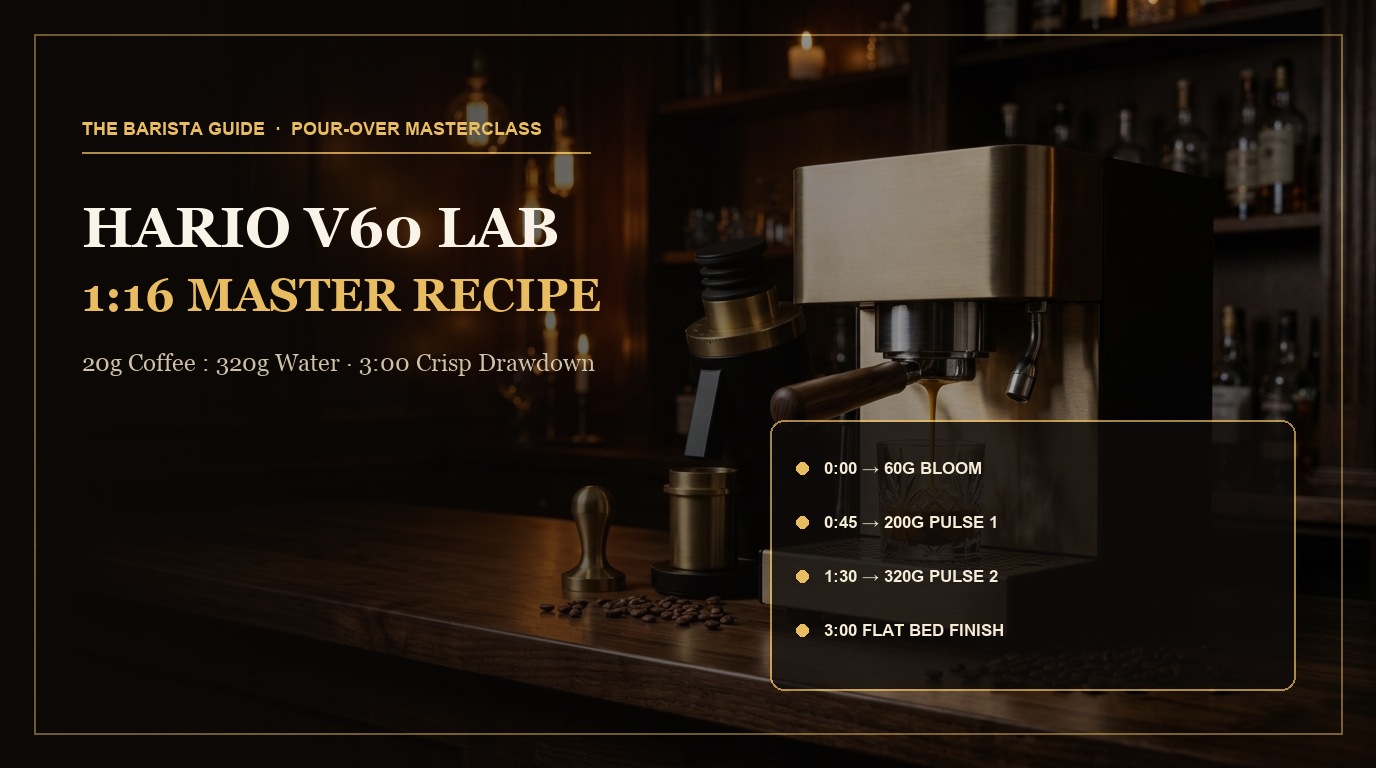
The Exact 3:00 Two-Pulse 20g : 320g V60 Blueprint
Set your Timemore Black Mirror Basic 2.0 Scale to 0.0g, heat filtered water to 203°F (95°C) for light roasts or 198°F (92°C) for medium roasts in a Fellow Stagg EKG Pro Gooseneck Kettle, and follow this clock:
| Timestamp | Target Scale Weight | Pour Rate & Motion | What Happens Inside the Cone |
|---|---|---|---|
| Pre-Brew | Rinse filter (100g hot) | Discard rinse water from server; add 20.0g medium-fine coffee; make small center divot | Flushes paper cellulose taste & preheats cone walls |
0:00 – 0:12 | 0g → 60g (3x Dose) | Spiral center-outward until every dry patch is wet, then swirl cone gently for 4s | Evacuates hydrophobic CO2 gas pockets so channels cannot form |
0:12 – 0:45 | Hold at 60g | Rest untouched while surface bubbles pop | Water penetrates dense cellular interiors via capillary action |
0:45 – 1:15 | 60g → 200g (+140g) | Steady 5 g/s nickel-to-quarter spirals; stop 1cm shy of paper wall | Dissolves peak fruit acids and early Maillard sugars |
1:15 – 1:30 | Pause (200g) | Let slurry level drop 1/3 down the cone | Keeps thermal mass stable without overflowing cone height |
1:30 – 2:00 | 200g → 320g (+120g) | Gentle center-focused circles (4 g/s); 1 clockwise + 1 counterclockwise swirl at 2:05 | Washes high-riding grounds off filter ribs for a dead-flat bed |
2:50 – 3:10 | Final Drip Complete | Lift dripper off Hario Glass Range Server; swirl carafe to aerate & cool to 145°F | Peak aroma blooms as cup cools from 160°F down through 130°F! |
Grinder Starting Points for This Exact 20.0g Recipe
- Fellow Ode Gen 2: Setting 4.2 – 5.1
- Baratza Encore ESP: Setting 25 (Classic Encore: 15)
- KINGrinder K6: 90 – 98 clicks
- Comandante C40 MK4: 22 – 24 clicks
The Temperature Secret Nobody Mentions: Specialty pour-over tastes muted at 165°F because thermal shock masks sweet receptors on the human tongue. Let your server sit for 3 full minutes before taking your first serious sip—fruit notes double in intensity as the cup crosses 135°F (
57°C)!
Barista-Tested Gear & Roast Provisions
- Classic Pour-Over Set: Hario V60 Size 02 Ceramic Dripper + 600ml Glass Range Server — Iconic 60-degree spiral cone engineered in Arita, Japan.
- High-Heat Travel Cone: Hario V60 Clear Tritan Plastic Dripper Size 02 — Superior instant slurry heat retention and unbreakable durability for $12.
- Immersion Hybrid V60: Hario Switch Immersion Glass Dripper Size 02 — Steel ball valve lets you steep bloom immersion-style before flipping open for zero-fail V60 clarity.
- Laminar Gooseneck Kettle: Fellow Stagg EKG Pro Electric Pour-Over Kettle — Counterbalanced handle and precision spout hold steady 5 g/s streams effortlessly.
- Fast Japanese Filters: Cafec Abaca Size 02 Cone Paper Filters (100-Count) — Cleanest, zero-stall drawdown for high-altitude light roasts.
- Flow-Rate Scale: Timemore Black Mirror Basic 2.0 Digital Pour-Over Scale — Displays live
g/spouring speed right beside weight and timer.
Instant Coffee Grinder Setting & Dial-In Lookup
Frequently Asked Calibration Questions
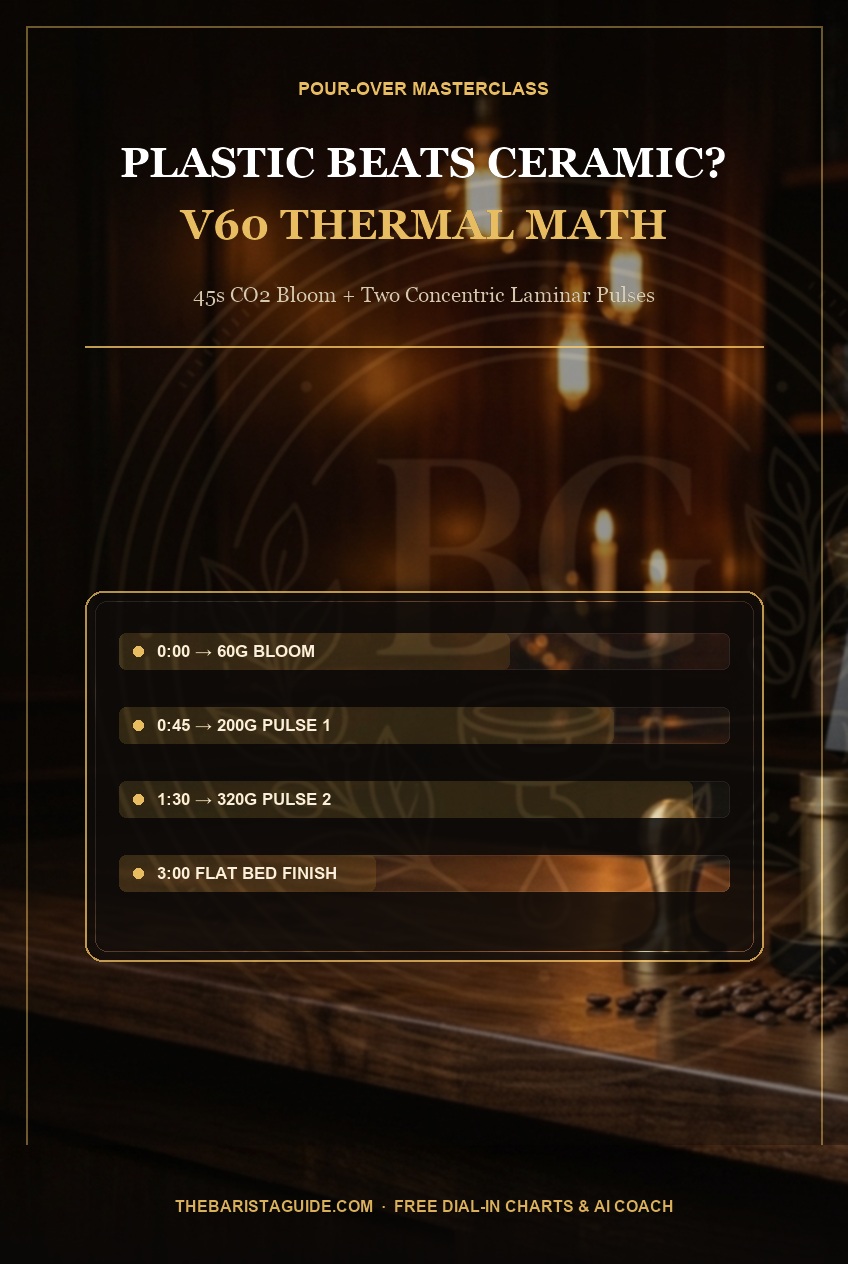
Why do World Brewers Cup champions often use the $11 clear plastic Hario V60 over ceramic or copper?
Thermal conductivity! Heavy cold ceramic absorbs massive heat energy from your 205°F bloom water unless preheated under boiling water for 60+ seconds, whereas BPA-free Tritan/plastic has ultra-low thermal mass and holds slurry temperatures 4°F–6°F higher immediately.
Should I use 1:15, 1:16, or 1:17 coffee-to-water ratio for V60?
1:16 (20.0g coffee to 320.0g water, yielding ~280ml beverage) is the universal specialty benchmark—balancing syrupy body at ~1.38% TDS with ~20.5% extraction sweetness. Step up to 1:16.7 (335g water) for ultra-dense Nordic light roasts, or 1:15 (300g) for medium-dark roasts.
Do Hario V60 filter paper factories (Japan Unboxed vs. Boxed Tabbed vs. Netherlands) change drawdown time?
Yes! Thicker European-made Hario filters can add 30–45 seconds to total brew time compared to Japanese untabbed or Cafec Abaca papers. Stick to one consistent filter pack so your grind chart never shifts unexpectedly.
Quick-Reference Espresso & Brew Cheat Cards